Search, Sort, and Filter#
Grist offers several ways to search within your data, or to organize data to be at your fingertips.
Searching#
At the top of the document screen, you’ll see a magnifying glass icon () which opens a spreadsheet-like search.

You can also start searching using the keyboard shortcut
⌘ F (Mac) or Ctrl + F (Windows).
As you type into the search textbox, Grist will move the cursor to the next cell containing your search text. If there are no more matches in the current widget or page, the cursor will move to the next widget or switch to the next page.
Sorting#
It’s easy to find a word in a dictionary, but it wouldn’t be if the words weren’t sorted! Grist offers flexible and convenient sorting options, which are quite different from a traditional spreadsheet.
To sort a table in Grist by a column, open the menu from the column’s header and select “Sort”:
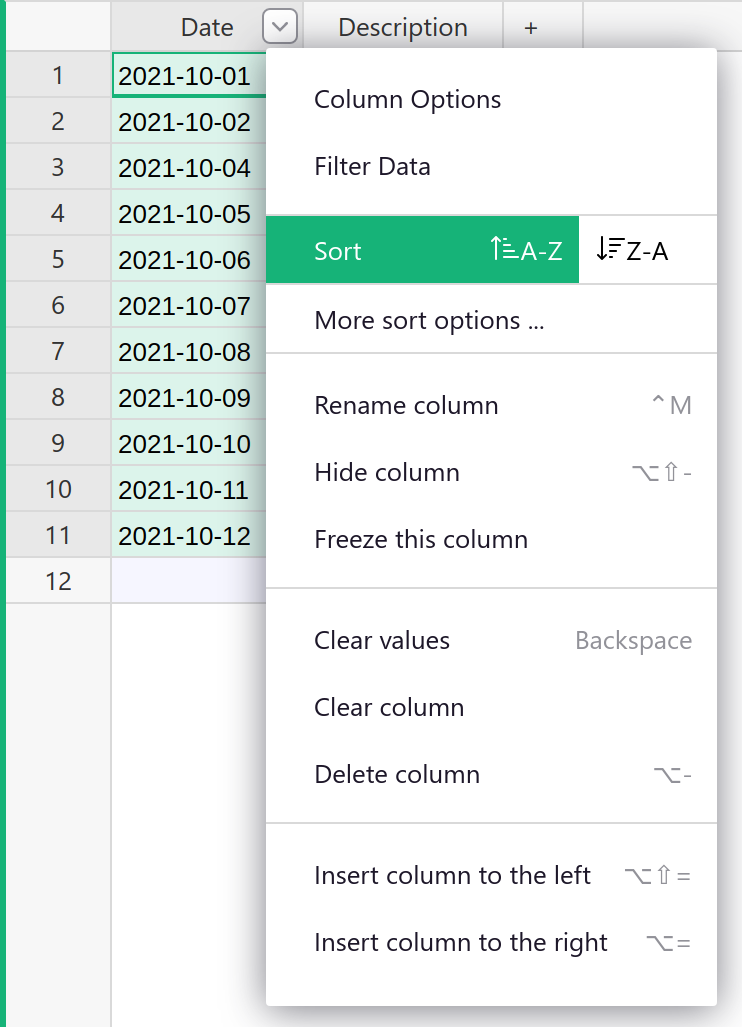
In the same menu item, you can choose to sort in ascending or descending order.
Difference from Excel: Importantly, sorting does not change any formula calculations, it only changes the order in which you see the records. This is different from spreadsheets like Excel.
Another difference is that the sort setting is “active”: if you add a record, or change a cell that’s used for sorting, the record will jump into its correct position in the sort order. See Saving Row Positions below for an option more similar to Excel’s behavior.
Multiple Columns#
When a table is sorted, you can click another column to add it to the sort:
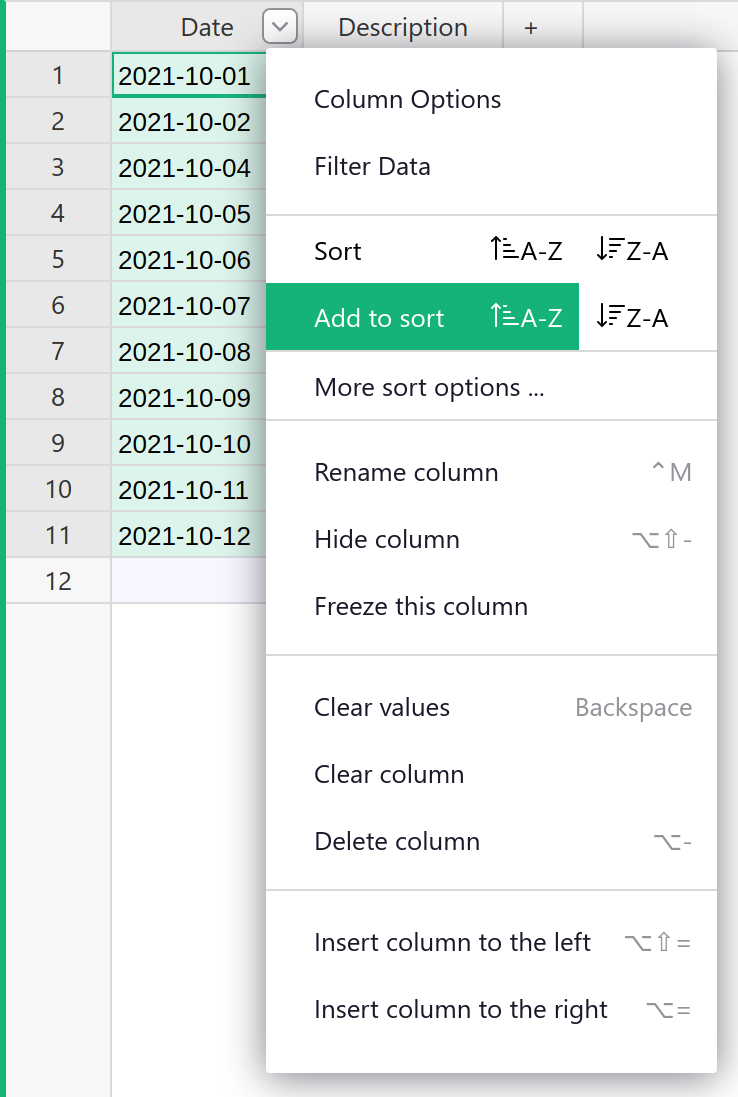
The second column determines the order of records whose values in the first column are the same. You can add more columns to the sort. For example, you could:
- Sort employees first by Department, then by Last Name, then by First Name.
- Sort transactions first by Date, then by Amount.
- Sort tasks first by ‘Is Completed’ column, then by Priority.
Saving Sort Settings#
Because sorting only affects your view of data, you can sort data in a Grist document even if you do not have edit access to it. If you can write to a document, then you can also save sort settings.
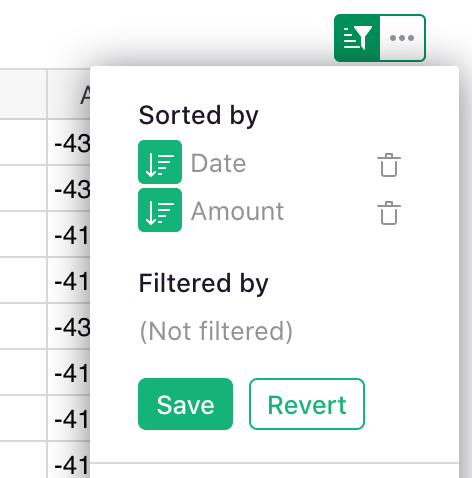
When you change sorting on a table, the icon on top of it gets highlighted in green. Click it to see the currently active setting, as well as the options to manipulate them (e.g. remove a column from the sort), to save the setting, or to revert your changes:
When you save sort settings, they will apply to the widget any time this page is opened, either by you or other collaborators.
Multiple Views: Just like you can create multiple pages showing data from the same table, you can have different sort settings on each view of the data. E.g. you could have one view showing credit card transactions sorted by date, and another showing them sorted by amount.
Sorting from Side Panel#
You can sort widgets other than Table, such as Card List or Chart, using the “Sort & Filter” subtab in the side panel:
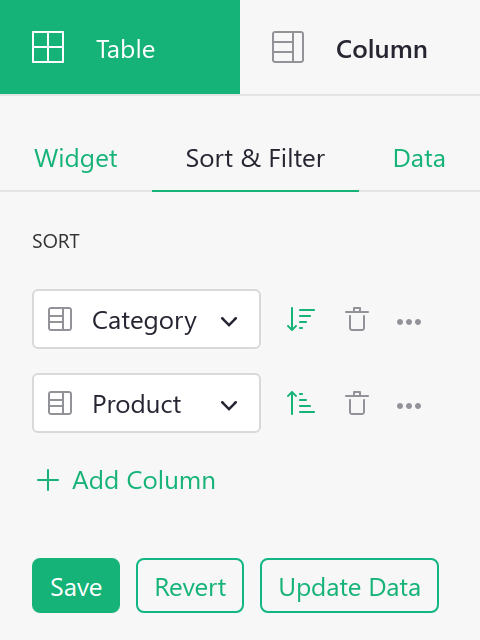
You can add one or more columns, save or revert settings and use advanced sorting options.
Advance sorting options#
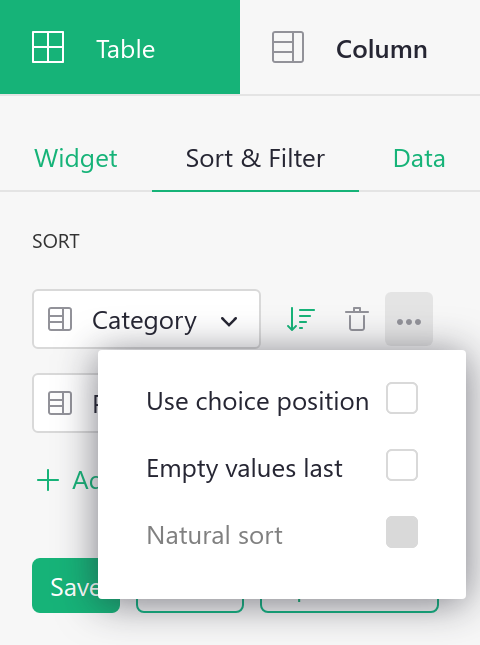
The “Sort & Filter” subtab exposes additional sorting options that might be useful for various column types:
Use choice position– available on Choice column, sorts records using the configured order of choice items, rather then their names.Empty values last– in alphabetical order empty values are shown first by default, use this option to put them at the end.Natural sort– for Text column will treat multi-digit numbers in strings as if they were a single character, allowing more human-friendly ordering. For example, usingnatural sort, Product10 will be positioned after Product2.
Saving Row Positions#
When you use the side panel, you’ll notice one extra button: “Update Data”. If you click it, the current position of the records relative to each other is saved, and the active sort by your selected columns is turned off.
In other words, rows will no longer jump into place according to values in certain columns, but will remain in the place they are in. You will also be able to reorder rows manually by dragging them.
Filtering#
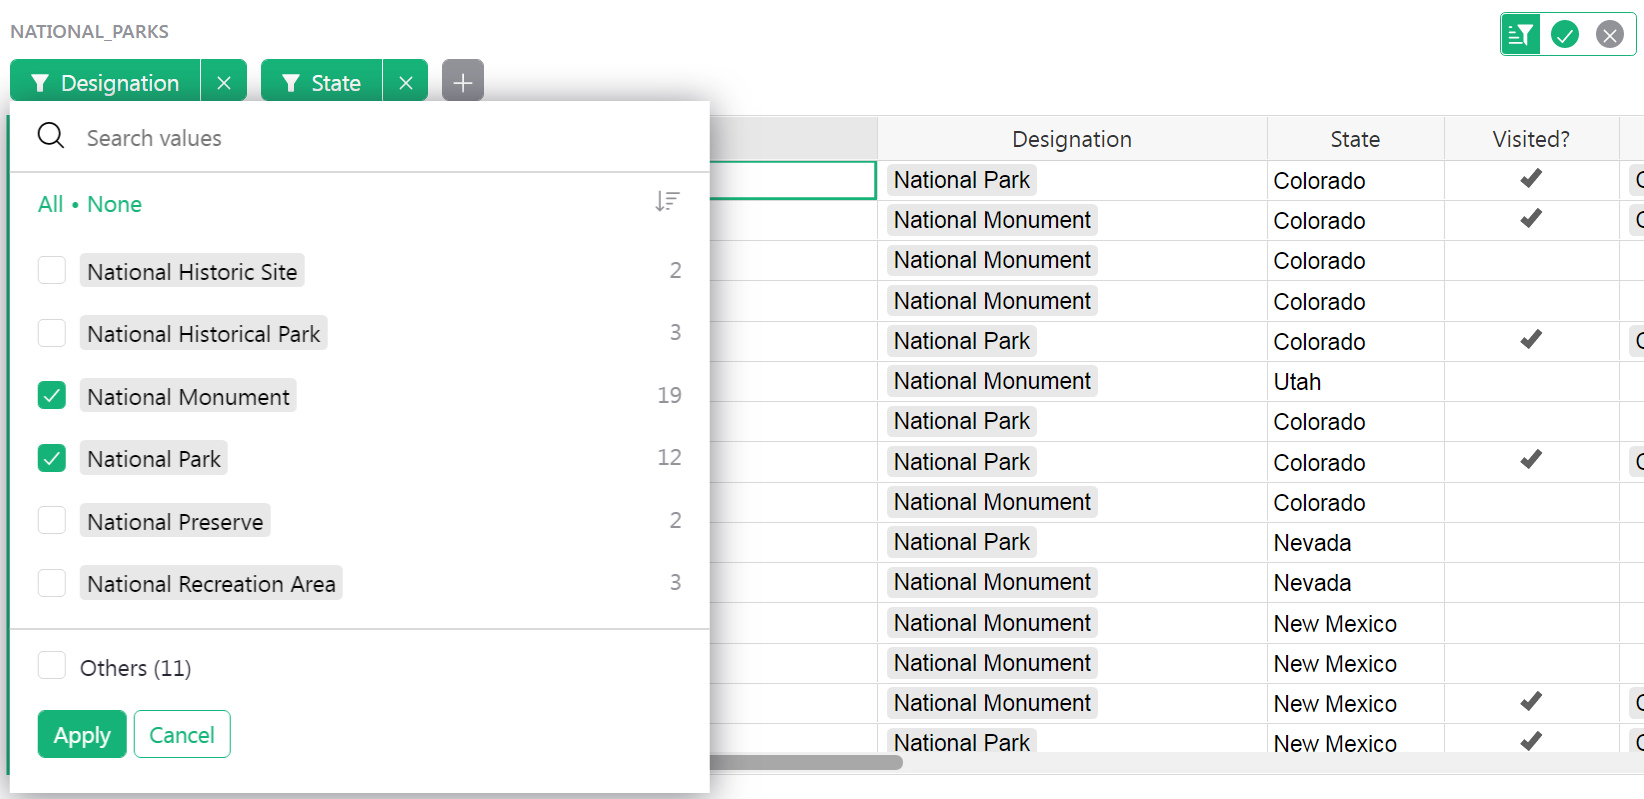
You can choose to see only a subset of data in a table by filtering for certain values in a column. Open the column menu from any column’s header, and click “Filter Data”. You’ll see a dialog listing the values in the column:
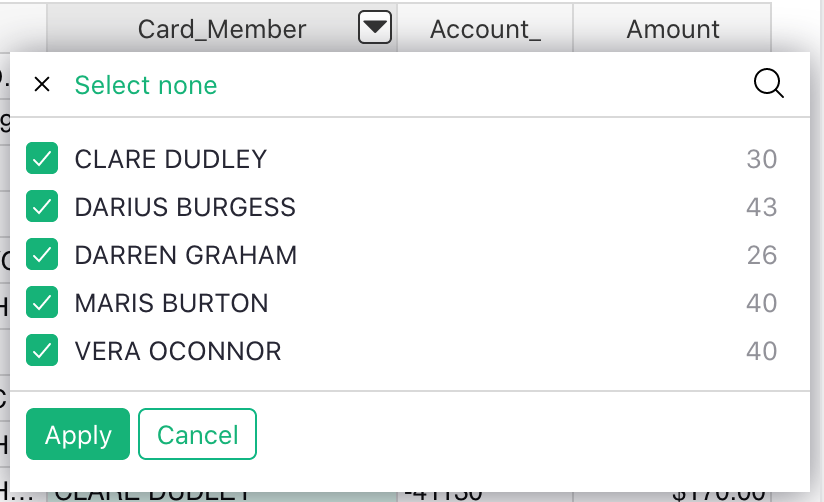
Uncheck the values you don’t want to see, or click “Select none” and then check only the values you do want to see. The magnifying glass icon in the corner of the dialog lets you find values of interest if the list is long.
Click “Apply” to apply your setting.
You can filter by more than one column. Only those rows will appear which match all of the filters.
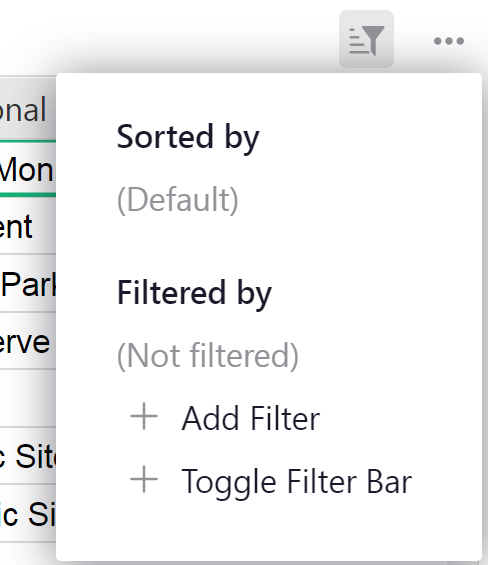
As with sorting, you can save filters to the view. Click the highlighted “Sort & Filter” icon on top of the table:

You’ll see the columns for which there are active filters, and options to save the filter, or to revert to saved settings.
As with sorting, you can create different widgets or pages showing the same table with different filter settings. For example, you could have one page showing event attendees with status “Confirmed” and another one showing those with status “Pending”.
Filter Buttons#
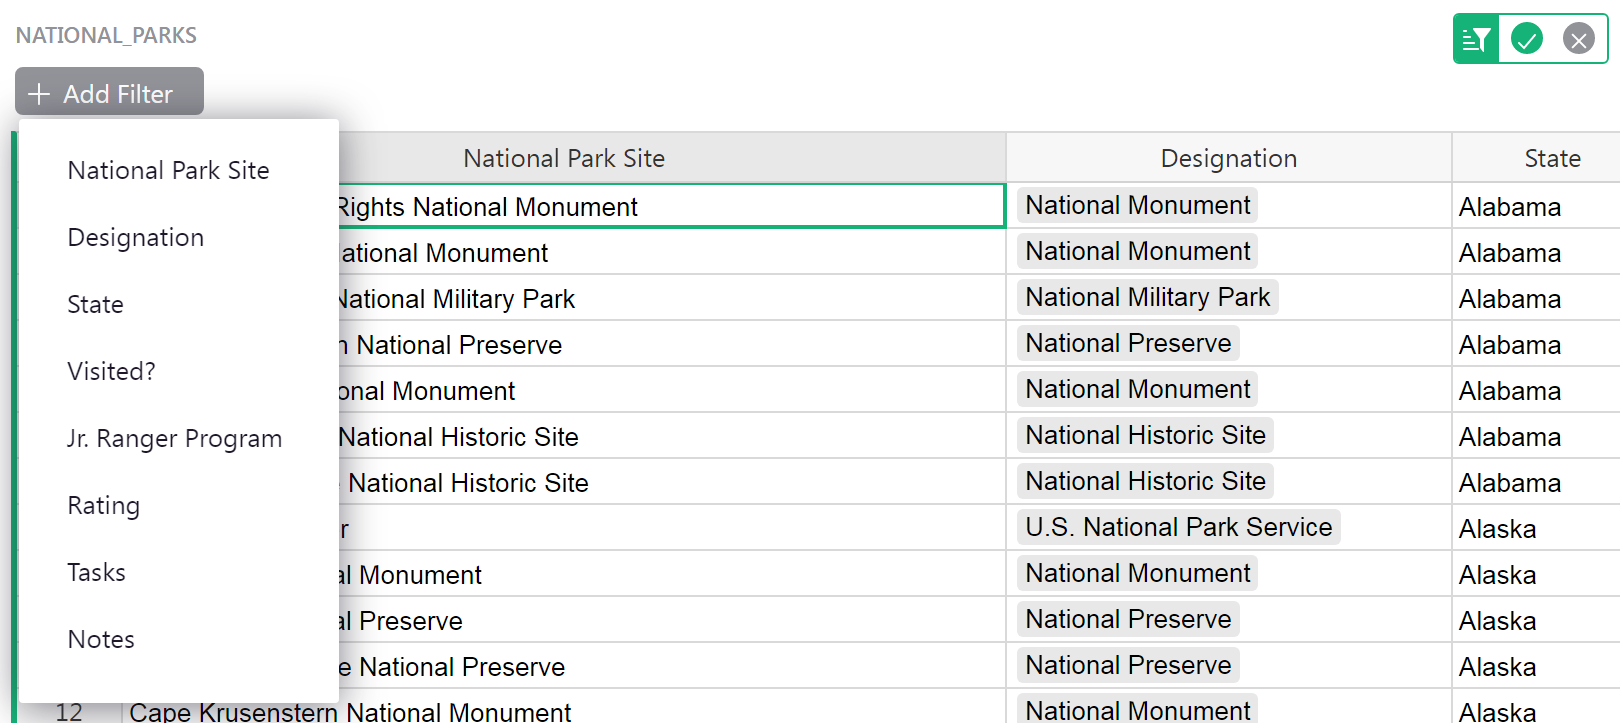
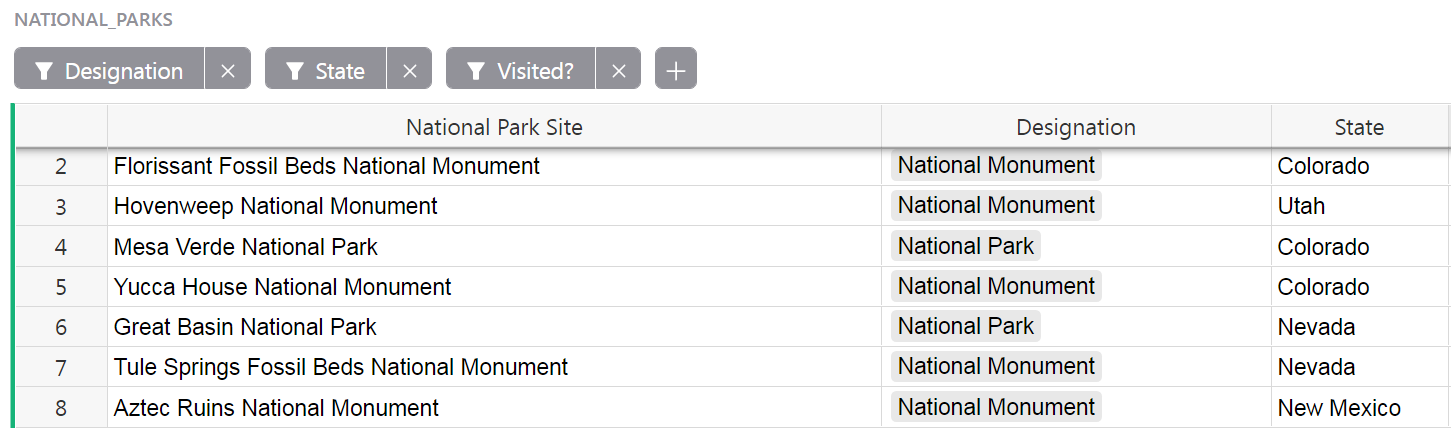
Another way to apply filtering is through Filter Buttons. To use Filter Buttons, turn on the Filter Bar. Click the “Sort & Filter” icon on the top-right of the table then select “Toggle Filter Bar”.
A grey “+ Add Filter” button will appear at the top-left of the table. When you select this button, a list of your columns will appear.
Filtering from the filter bar works exactly like the filtering described above. Note that there is a search bar at the top that allows you to easily find values in longer lists.
Click “Apply” to apply your settings.
If you want to save your filters for future sessions, click the green checkmark next to the “Search & Filter” icon to save.
The value in not saving settings is the ability to do quick filters and lookups without saving that filter forever, or for the rest of your team to see. So it may be useful to save the buttons without any filtering to create a quick filter toolbar.
If you do save settings with filters applied, that saves it for future sessions and other team members will see the same thing.
With the Filter Bar on, you have buttons that you can use to more easily see and update your filters. If you toggle the Filter Bar to off, any saved filters will still be applied but the buttons will no longer be visible.
Complex Filters#
To filter for more complex conditions, create a new formula column and filter this column for values of “true”.
For example, to filter for “Persons with salary over $100,000 or a position of ‘Board Member’“, you can use a formula like this:
$Salary > 100000 or $Position == 'Board Member'
This will produce a column of true and false values, which you can filter for the value true.